Reconing a Jensen P15LL Speaker
As I mentioned in my previous post, I am going to recone one of my Jensen P15LL speakers for use in my Leslie 122 amplifier. Having never done this before I was a bit nervous, but I figure no pain, no gain!
I started by picking up a recone kit from here.
After it arrived, I got started removing the old cone, voice coil & spider.
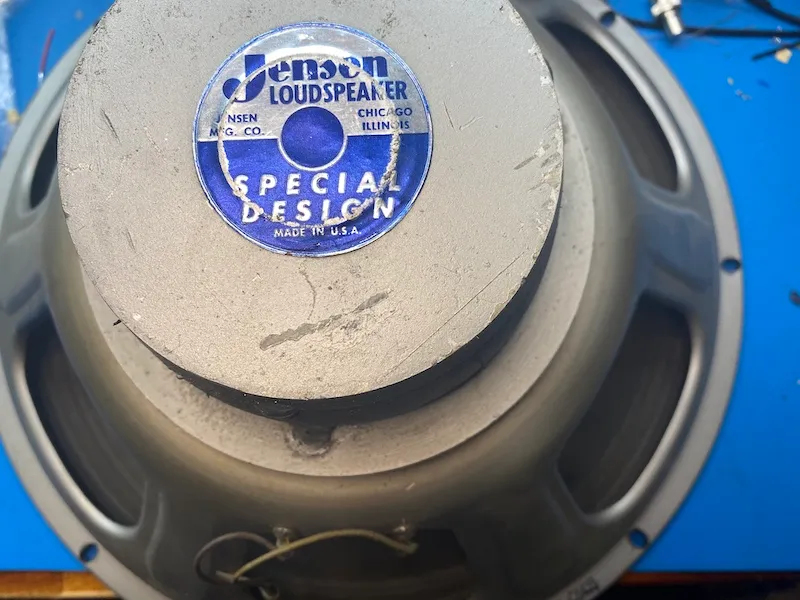
Given the black paint and residual tape, I'm going to guess this might have been previously re-coned. I have no idea what the history on this speaker is, and I've never seen one that is "original", so who knows.
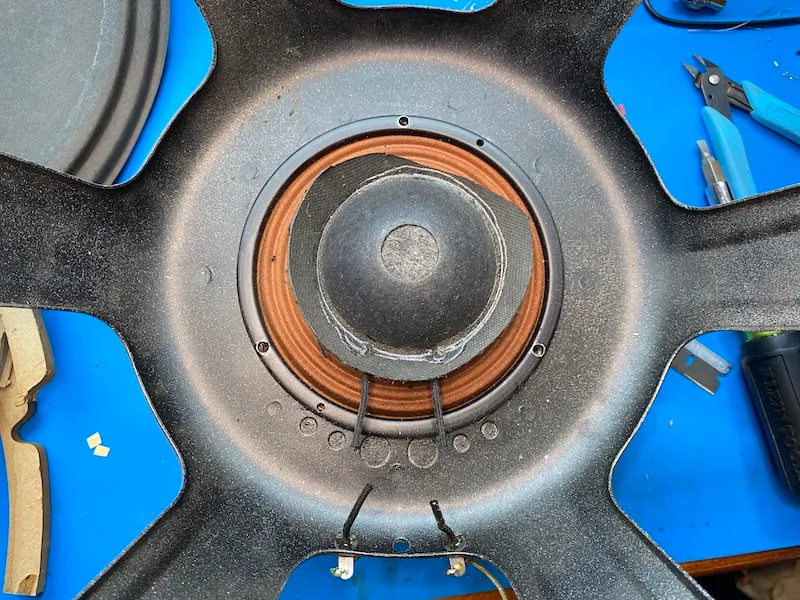
I put tape over the voice coil gap and got busy with a razor blade & a putty knife cleaning the residual glue off of the speaker. This portion of the project was best suited to do outside, as I had a bit of a mess on my hands.
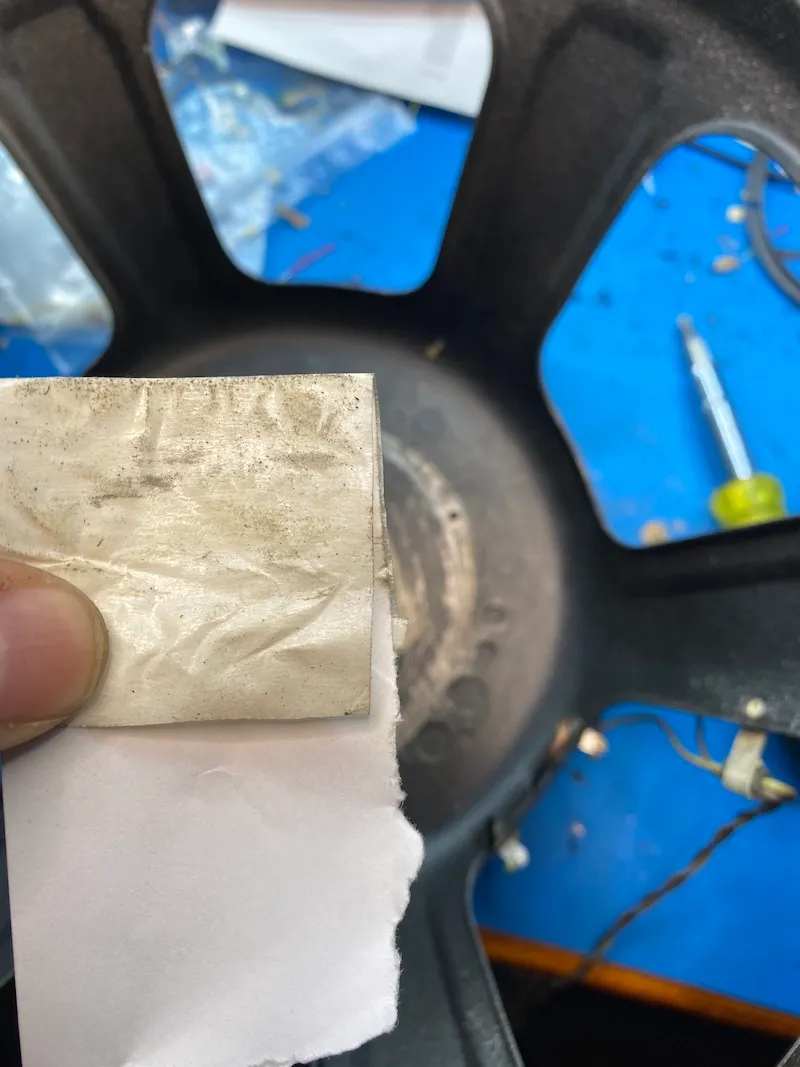
I didn't have any canned air, so I used some masking tape on the back side of an envelope to go around the voice coil gap and clean all the crap in there that's accumulated over the last 40-50 years. I kept repeating with new clean tape until it didn't look as gross as it did in the photo above.
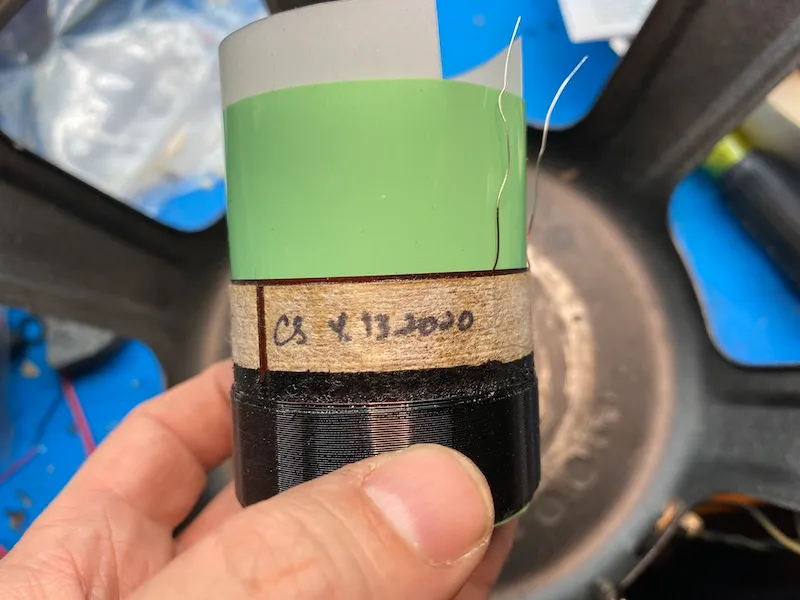
Brand new voice coil, dated the day before everything was shipped to me!
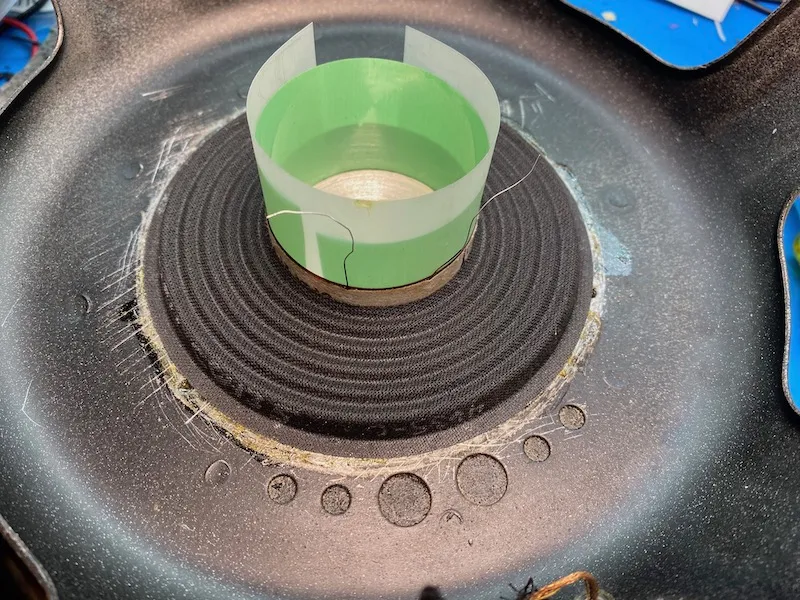
After dry fitting everything, the moment of truth came. Time to glue in the spider with contact cement. We're to the point of no return. If I mess this step up, I need to buy a new kit.
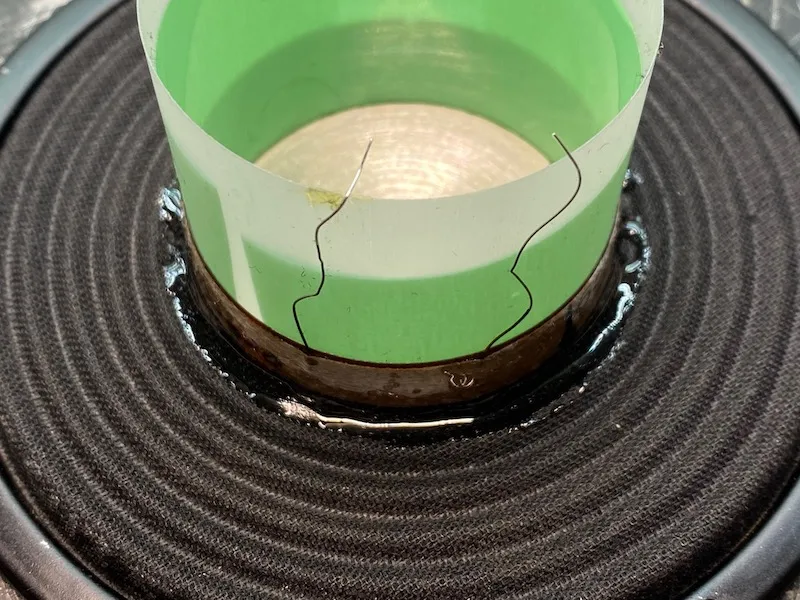
Another point in which I can ruin everything. I was having second thoughts at this point. Did the voice coil height move when I put the spider in? Is everything attached correctly? I'm stressed. I mixed up some 5 minute epoxy and glued the voice coil to the spider. If it doesn't work, I'm out $50 and I try it again. Even though this is 5 minute epoxy, I let it sit for about 10-20 minutes before I got busy with the cone.
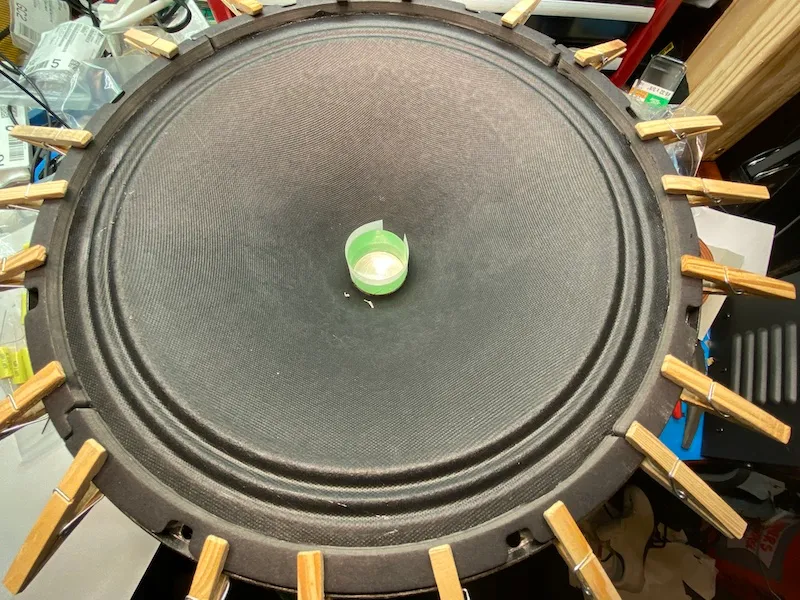
The cone was glued to the frame with contact cement, and I used some clothes pins to hold them in place while I worked. After that, I mixed up some more 5 minute epoxy and glued the cone to the voice coil. I was paranoid about gluing the shims to the voice coil and I definitely got glue on the shims. I rotated the shims a bit and pulled them up about a centimeter, and was able to easily remove them when everything was dry.
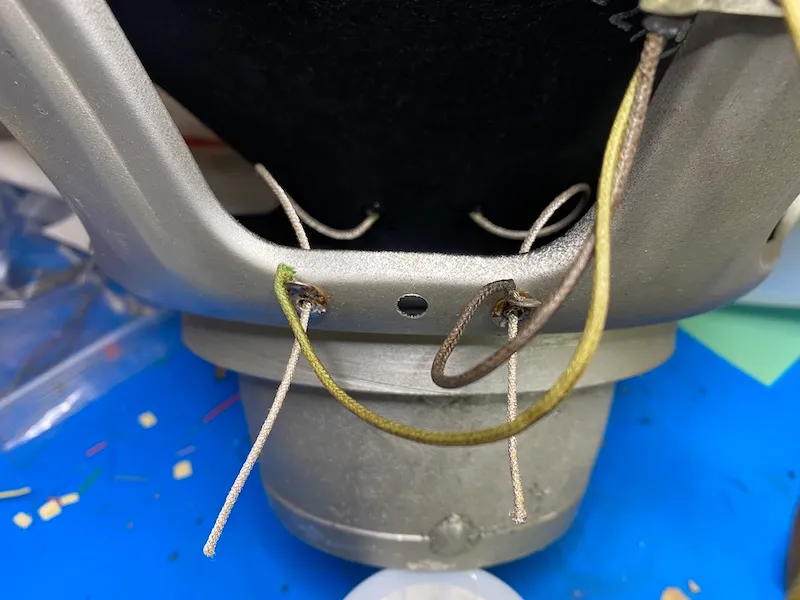
After soldering the voice coil to the wire, they are soldered to the speaker terminals.
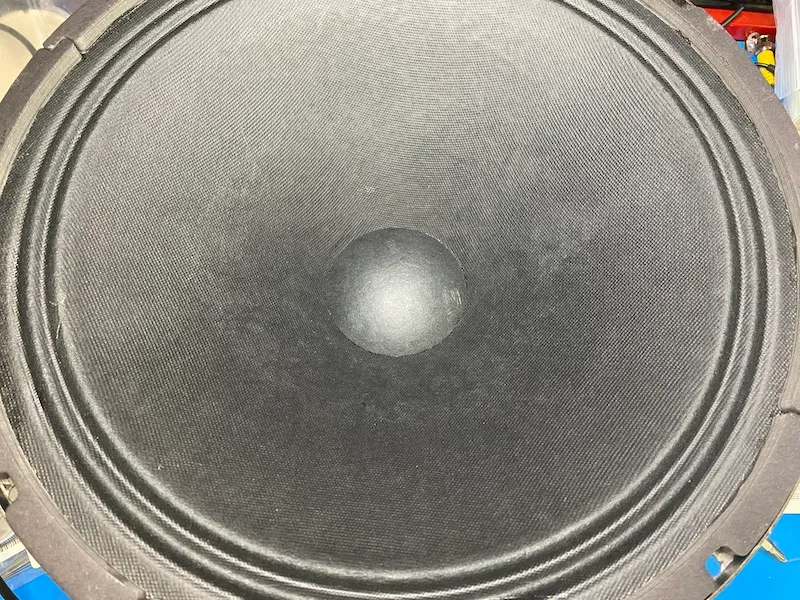
When all the gluing was done, I removed the clothes pins and set the speaker upside down on my bench for the night. I attached the speaker to a signal generator and did a sine wave sweep, and everything sounded great. So then it was time to glue on the dust cap!.
Overall thoughts
The speaker was put back in my Leslie cabinet, I unhooked the Jensen V21 from the crossover so I could listen to this P15LL. Sound will change, as I need to break this speaker in. However, first impressions are really positive. After an hour or so of practice at my normal practice volume, I decided to turn the Leslie to "10", and play with the Hammond volume pedal at around 10-20%. There is definitely a more pronounced bass presence when walking bass lines. It should continue to improve over the next couple of weeks as the new materials break in.
I was initially nervous about doing this job. When you read internet forums or Facebook groups, people seem to think this is a dark art. It isn't. Take your time, watch some videos of people doing this and don't be afraid to screw it up and try again.
At this point, I'm going to put in an order for another kit and will recone my other Jensen P15LL. I've successfully done one, and it wasn't hard.