Hammond AO-28 Rebuild
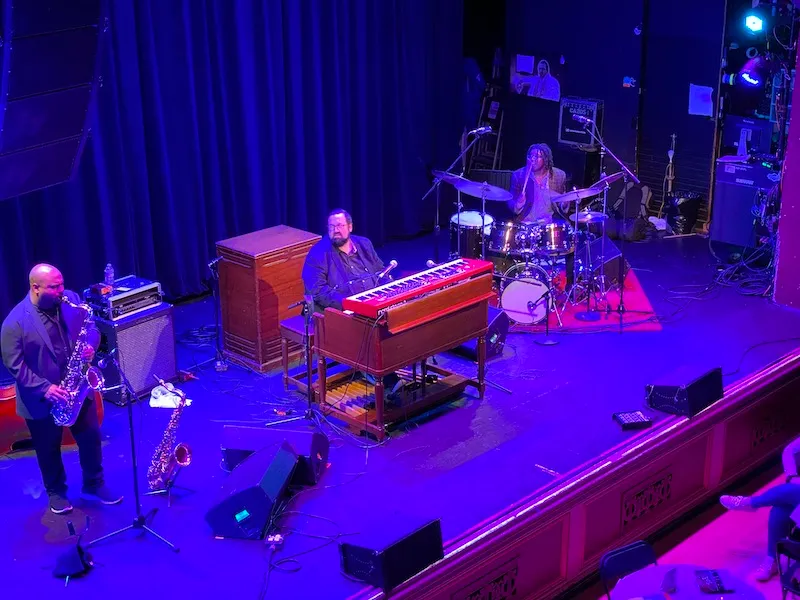
At the beginning of March, Joey DeFrancesco played my Hammond. I'm not going to lie, I had some serious anxiety that he'd be playing it. It's Joey D for crying out loud! I didn't want the instrument to get in the way of his performance, but I'm sure a lot of what he plays on the road is garbage. Overall he was happy with the instrument, but said even with the work I had put into it, the preamp sounded somewhat "tired". Largely, this was due to a lack of bass response. We opened up the swell trim capacitor all the way, and it was still not enough. Given that feedback, I have two things I'm going to do:
- Full rebuild of the preamp
- Recone the Jensen P15LL in the Leslie.
With a lot of my old gear, new parts are largely unobtanium, so I try to pick up extras as I find them for a good price. I figured with the pandemic looming it seemed like a great time to do a ground-up rebuild on a second AO-28 preamplifier I picked up about a year ago.
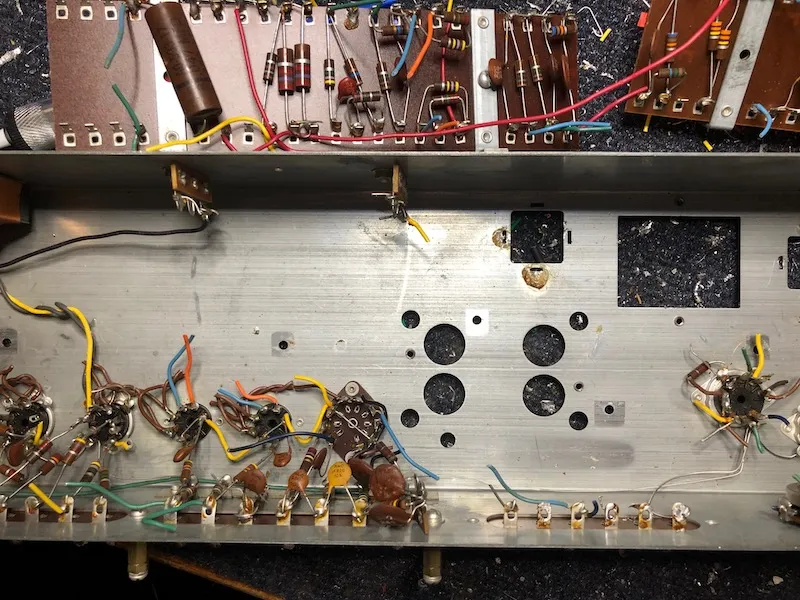
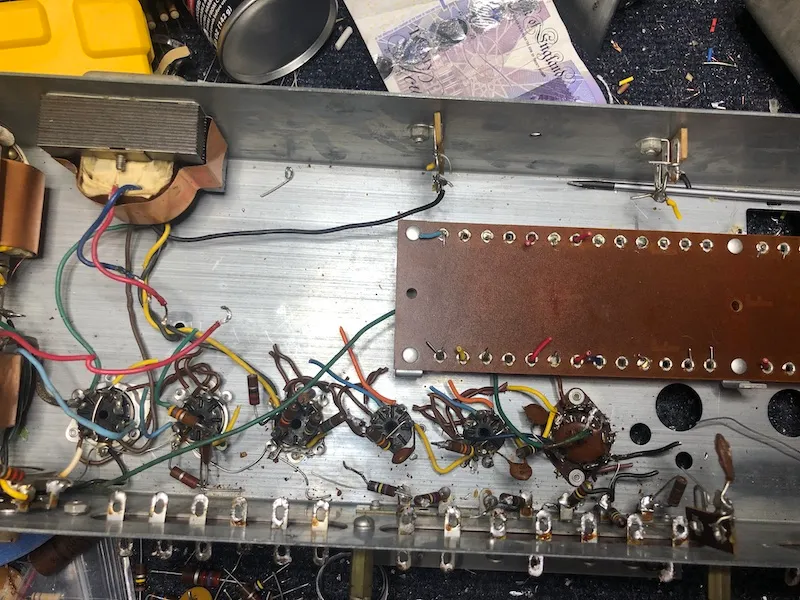
For the most part, the ground-up rebuild was probably not necessary, but projects are fun. This particular preamp had all original components, and I could not find evidence of any after-market soldering work. I didn't take a ton of photos of the amp when I received it, so we'll jump right into the teardown.
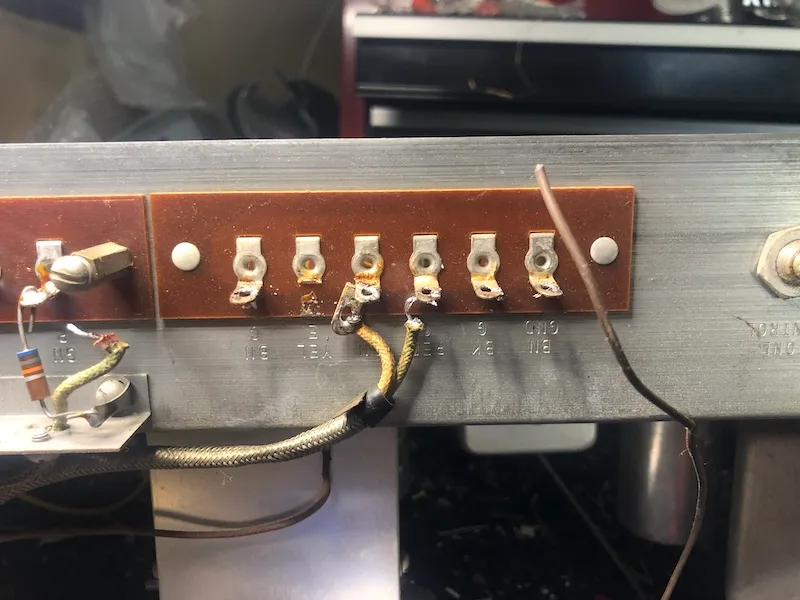
I wasn't able to get a proper replacement for this terminal. It is still on the list to figure out.
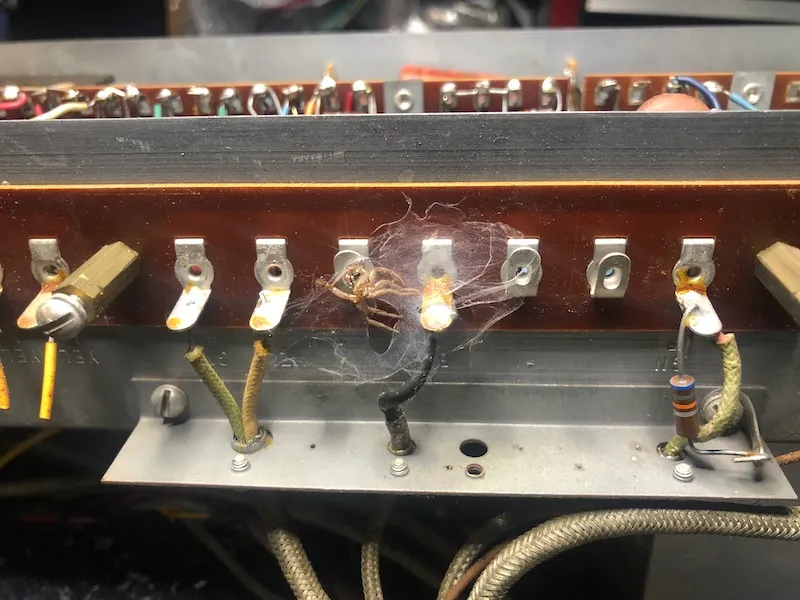
Ew...gross.
I went to town with wire snips and my soldering iron being careful to not do too much damage to the transformer wires.
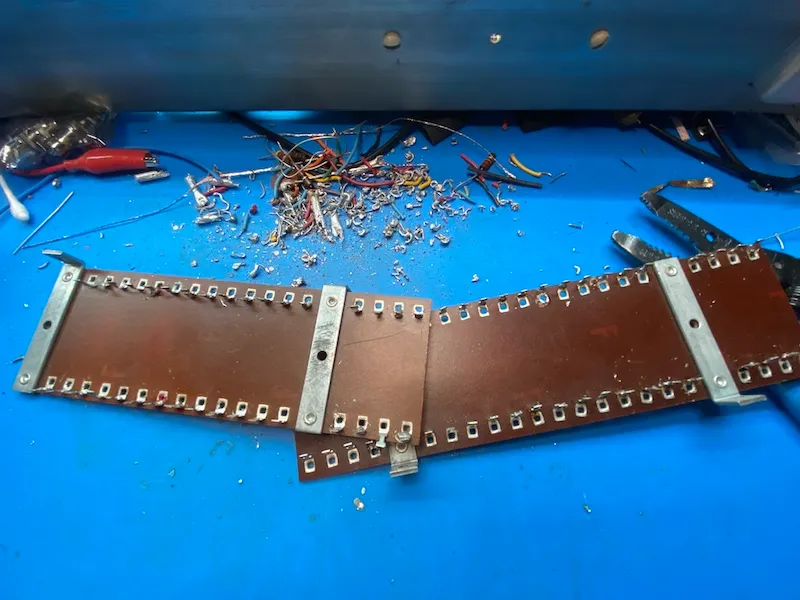
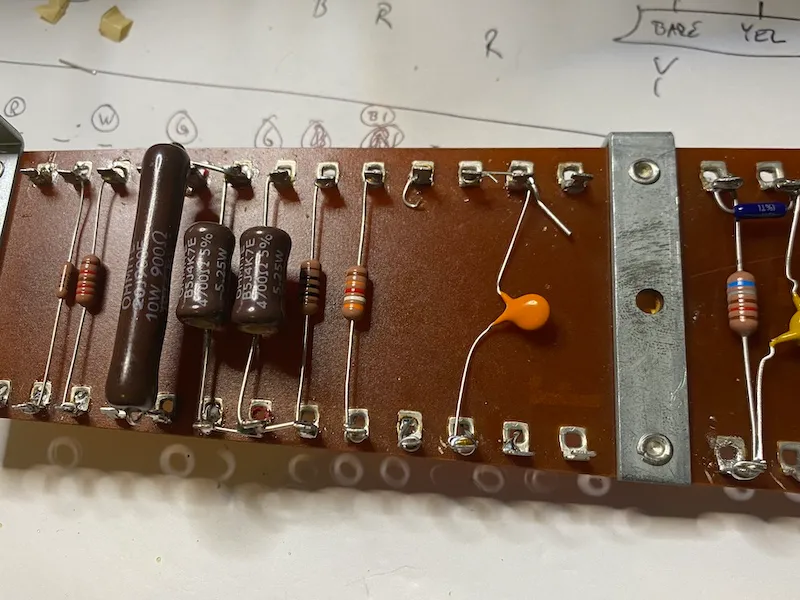
I tried to make the terminal boards look as close to new as possible. These are in great shape
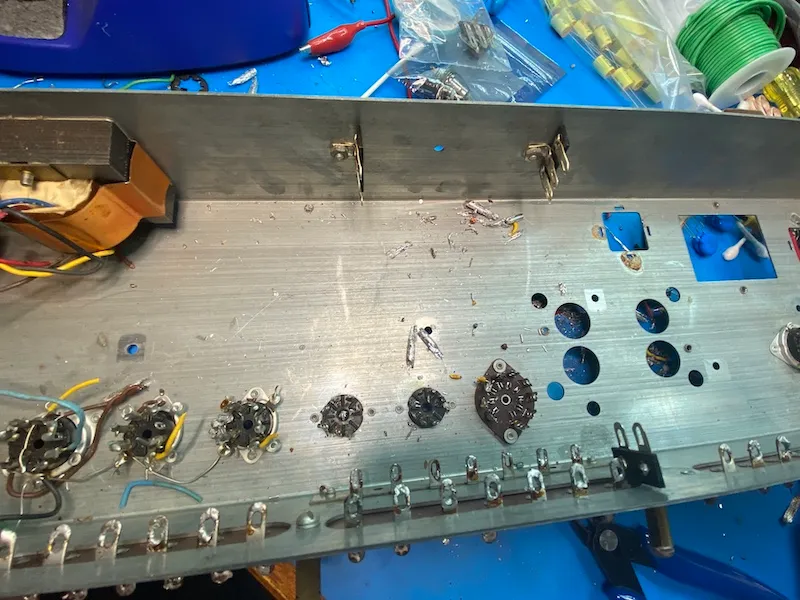
The tubes that came with this preamp appeared to be all original. I even got some Hammond branded Amperex tubes. That being said, the tube sockets were in great shape, so I cleaned them all up to prepare for new wiring.
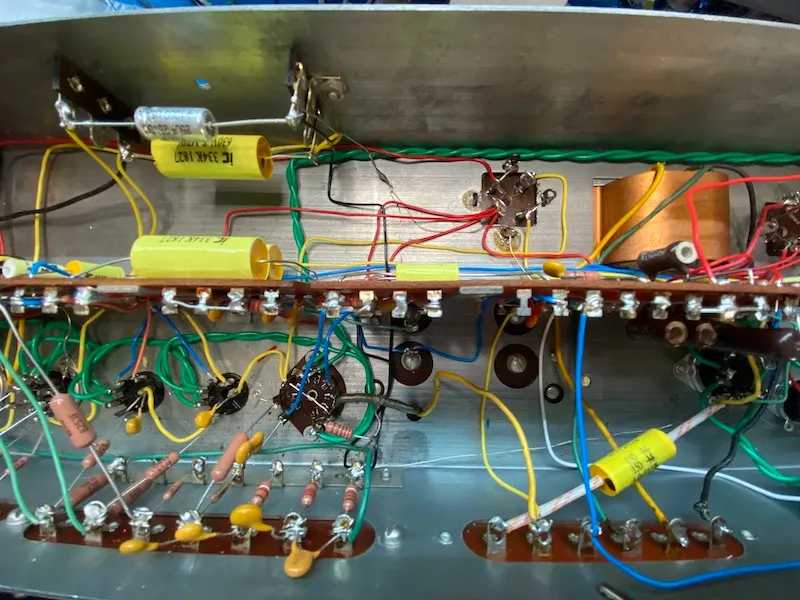
Components
I tried hard to use the same types of components throughout the amp, but some resistor values were tough to find. I'm going to guess it was due to Coronavirus hitting China months before us. There were a couple values I had to just make due with what I had, as I was not able to order the values I wanted.
Resistors
I used the following:
- Vishay CCF60 for values up to 1M
- Vishay RN70 & CMF55s to make up the values I couldn't find in CCF60
- Ohmite power resistors (these are expensive!)
Capacitors
- Can caps from CE.
- IC film caps
- Vishay 1-2KV ceramic disc caps
After I finished the boards, my friend Byron (who makes wonderful guitar amplifiers hipped me to component benders. I can't believe I didn't know these exist!
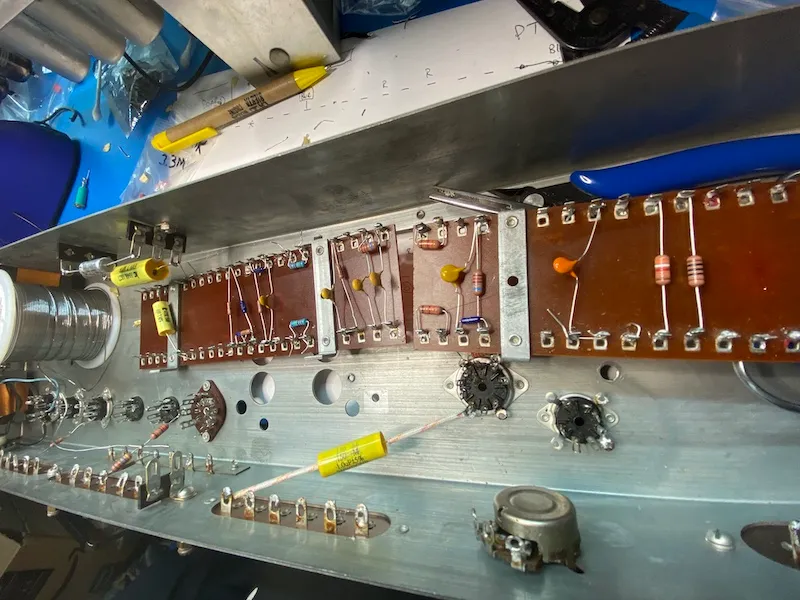
All in all, I'm happy how these turned out given I lined them up and bent by hand. Next time, they will look incredible with the component bender.
Wiring
I purchased new hookup wire from Apex Jr.
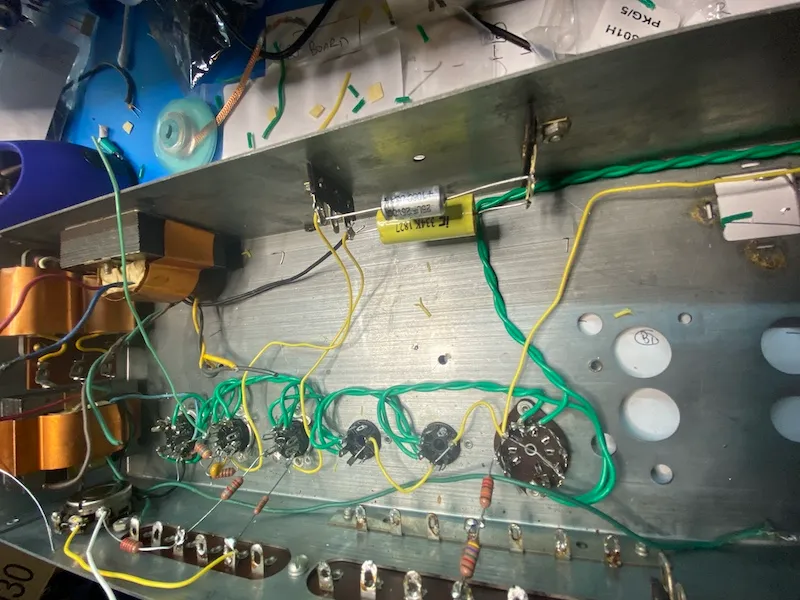
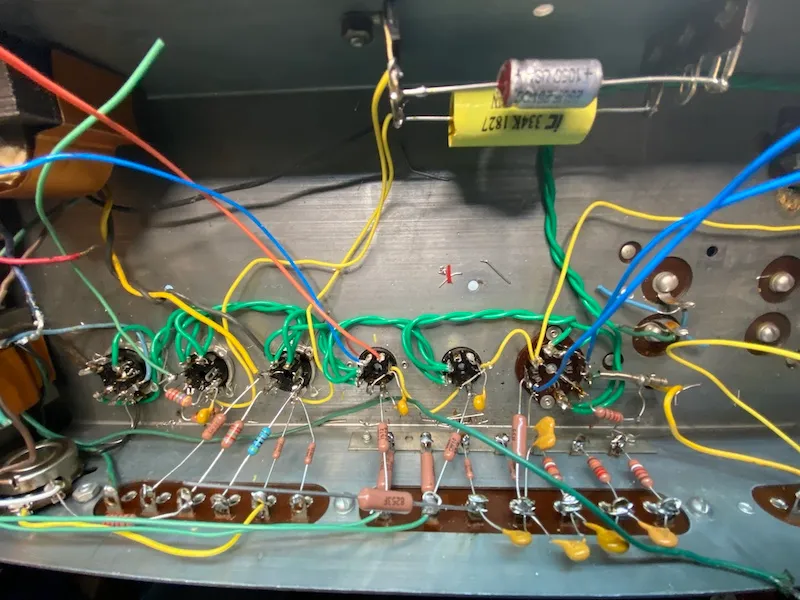
Here's a bunch of the initial wiring
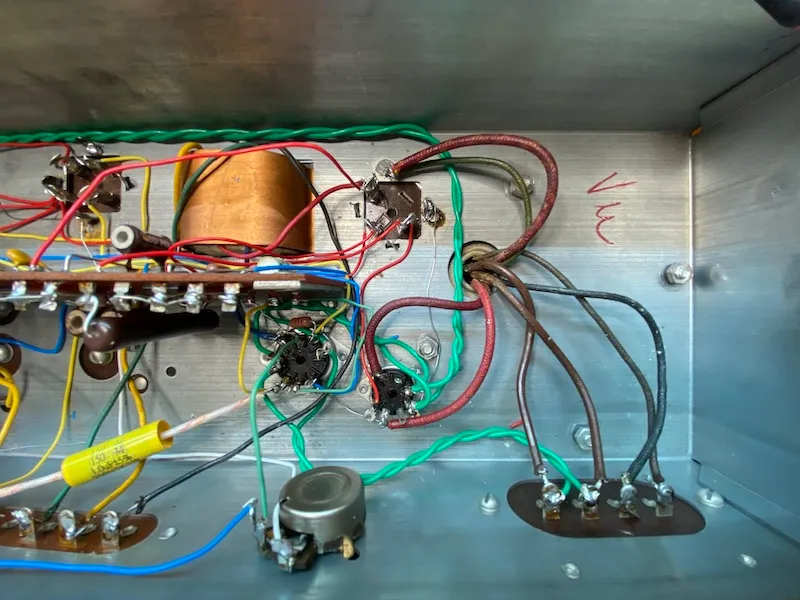
Can you spot my mistake? It is in the photo above on the bottom left.
Give up?
Okay, so my screwup was I completely forgot to wire the ground bus when I started, and it was a total pain in the butt to get it, especially with all of the wires flying from the terminal strips to the boards. The issue didn't show up on my bench tests though!
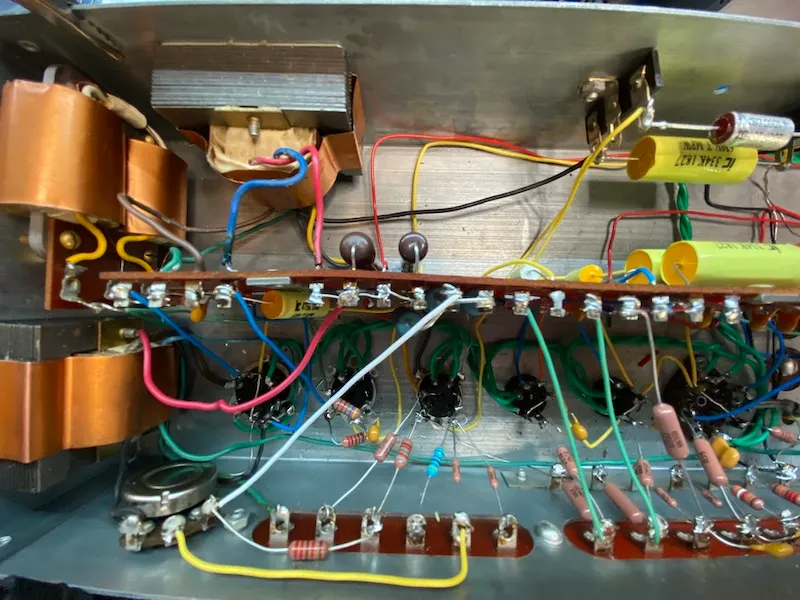
I missed the ground connection from the GND next to the GG terminals (black wire from the output transformer). When I hooked up the amp in my Hammond, the B+ Ground from the Leslie kit hooks to this, and I got a bit of a shock when I touched the kit and the amplifier with the same hand. Current was very low, so it was barely a tickle but still really scary. I metered between the two and read 380VDC!
In troubleshooting the problem I pulled the amp again, triple-checked all of the voltages, and they tested spot on. Moved the amp from my bench back to the organ. In order to save time if I needed to pull the amp again, I did all of the hookups with alligator clips. Instead of hooking to the GND, I just attached directly to the chassis. Now the B+ between the kit & the amp was gone, I must have fixed it, right?! When I soldered the connection onto GND, the issue was back and I realized the mistake I had made. I'm lucky the fix was easy, but feel pretty silly for such a potentially dangerous mistake. Other than the "bite", the only reason I realized it was an issue was due to the fact that the Leslie would not switch speeds!
Final Thoughts
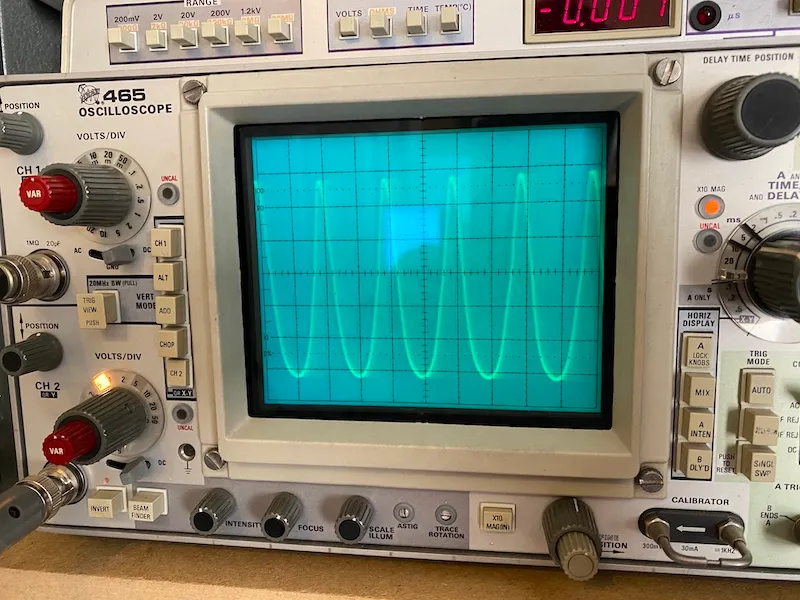
The change is remarkable. The 30-40 hours I have in this (I'm not a professional, and this was my first AO-28 rebuild) was worth it. There's more low-end, the highs sparkle and I find it easier to get a nice growl out of the instrument. I think I'm going to rebuild my other AO-28 to have on hand as a spare in the event anything goes wrong with this one. There's a lot more tinkering to do on the 'ole Hammond, I'll make sure to write about it as I take it apart and put it back together again.
A recone kit for the Jensen P15LL will be here later this week, so that's my project for this coming weekend. It will be my first time reconing a speaker. If I completely screw it up, I have a second one on hand so I'll be in good shape!
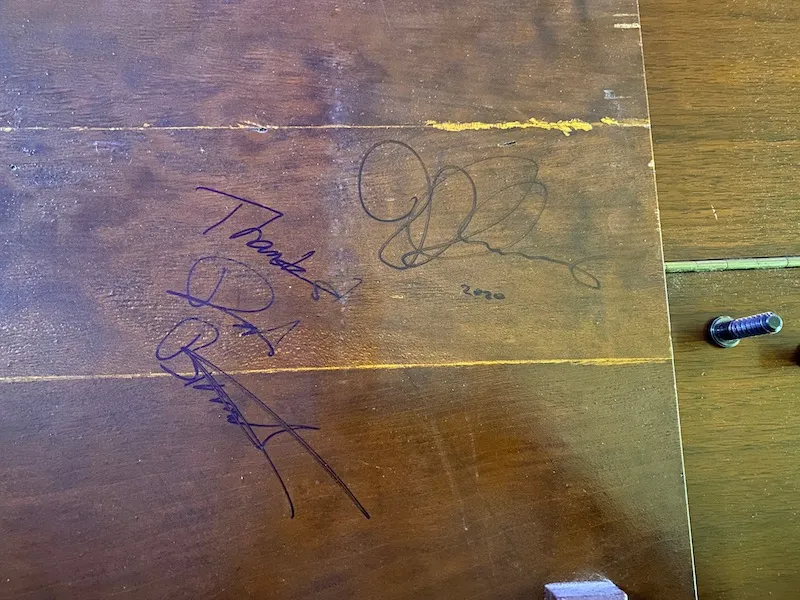
When Pat Bianchi played the instrument last year, I had him sign the inside, and decided I'd start doing that with the other players who play it. I'm really kicking myself I didn't think to do this with Booker T Jones and Larry Goldings.