EICO 232 VTVM Rebuild
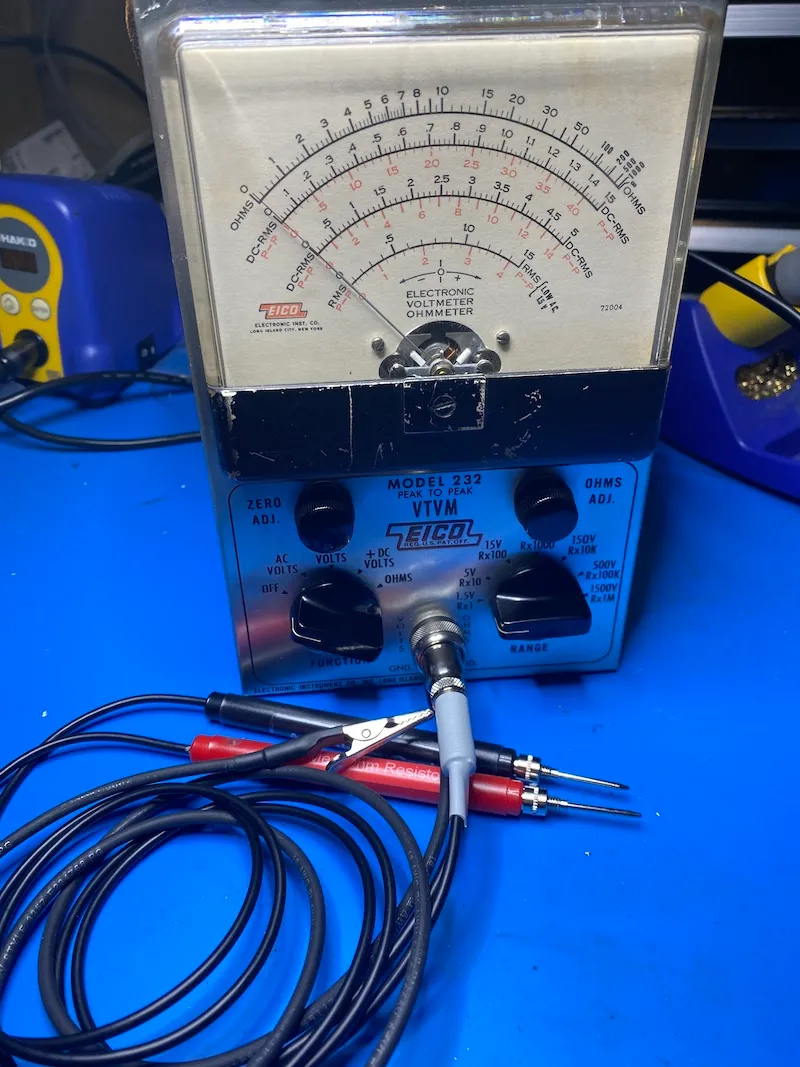
I've been quickly collecting the necessary gear to open a radio repair shop in the 1970s, and I'm excited to have a whole slew of upcoming projects to start on. To begin with, I'm going to restore this EICO 232 VTVM (Vacuum Tube Volt Meter).
EICO was around from 1945 until 1999, and produced equipment in both kit and assembled form. A VTVM will be useful for me for measuring in vacuum tube circuits, as the VTVM is high impedance and won't load down a circuit the way my trusty Fluke can. I picked this up on eBay for a fair price, and it included the high-voltage probe that's capable of measuring up to 30k VDC!
As with any 40-50 year old tube-related project. The first thing I will do is snip off the non-polarized power cord near the chassis so I'm in no way tempted to plug it in.
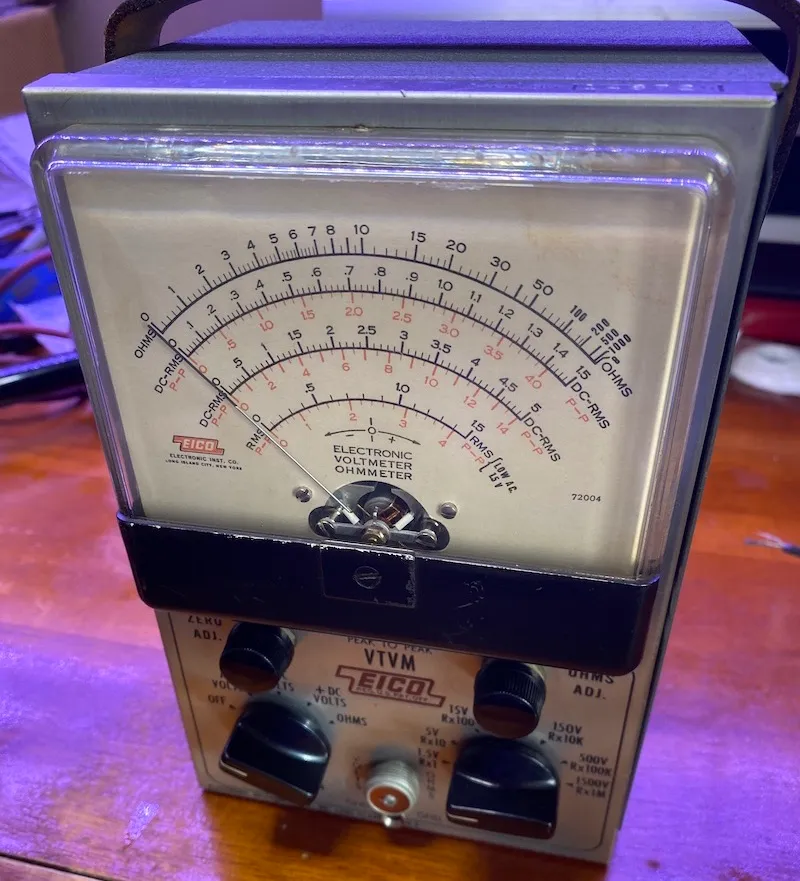
Let's remove the chassis and see what we're dealing with:
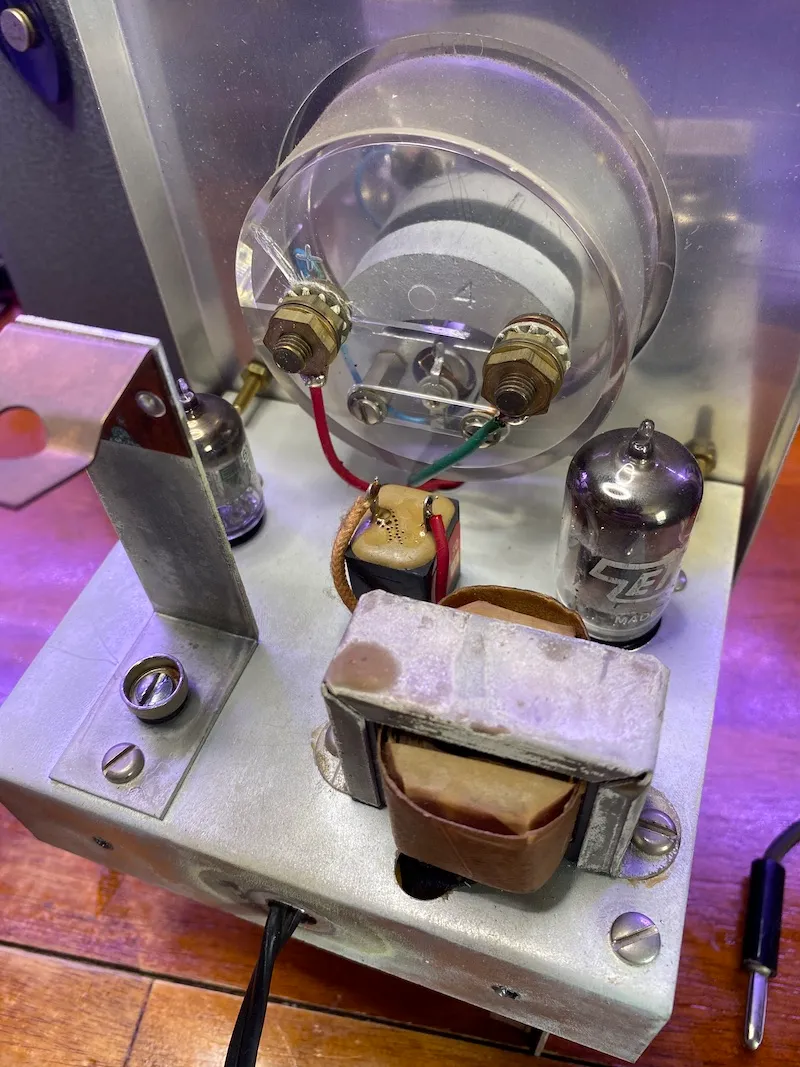
Pretty darned clean! Some surface dirt, but it isn't a complete and total mess. There appears to be a crack on the backside of the dial, but the front dial has nice movement in it when I rock the unit from side to side. So no worries.
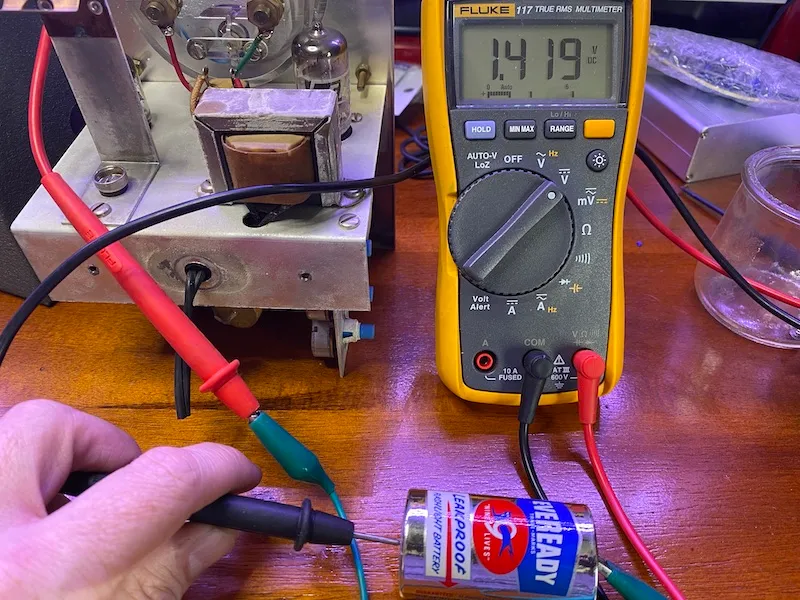
The original battery (with a $0.20 price tag on it!) still holds a charge, and even better there aren't any signs of battery acid leaking on the chassis!
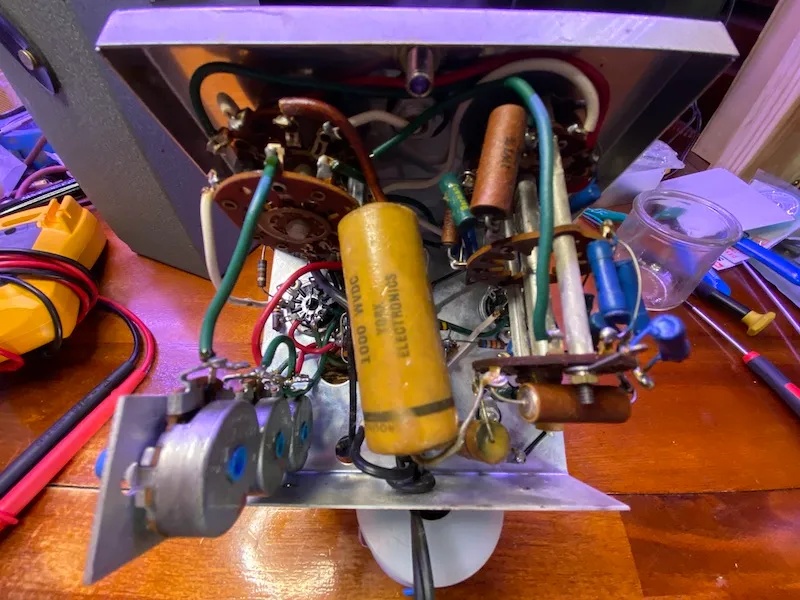
The wiring looks pretty clean. I don't see huge globs of solder, physically leaking capacitors, burnt wires or anything else terrible. This should be a pretty straightforward restoration.
Plan of attack
For this project, I'm going to do the following before I power the unit up for the first time.
- Clean the chassis & all controls.
- Test the tubes for emissions.
- New polarized two-prong line cord.
- Replace all old wax & electrolytic capacitors. They actually test spot-on for capacitance, but are well past their life expectancy.
- Test resistors to ensure they are within tolerance & replace as necessary.
- Replace the selenium rectifier with a modern diode.
- Swap in a battery-replacement kit I picked up off of eBay.
I've got my work ahead of me, as I'll be heavily using this unit in the next few restorations I have lined up in my queue. So let's get started!
Cleaning

The pots feel extremely dirty, so I hit them hard with some DeoxIT 5 a few times, and they have freed up nicely.
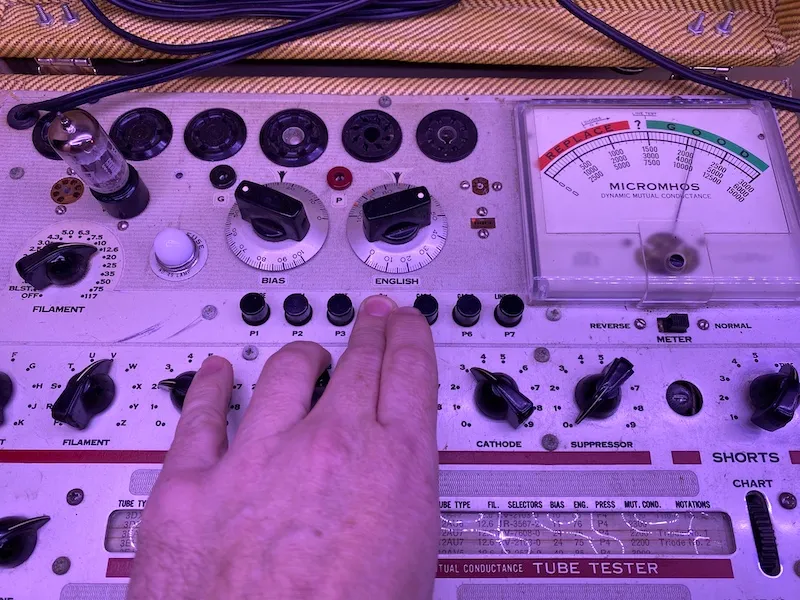
Tube Check
Both the 12AU7 and 6AL5 tubes check as "good" on my Hickok 600a.
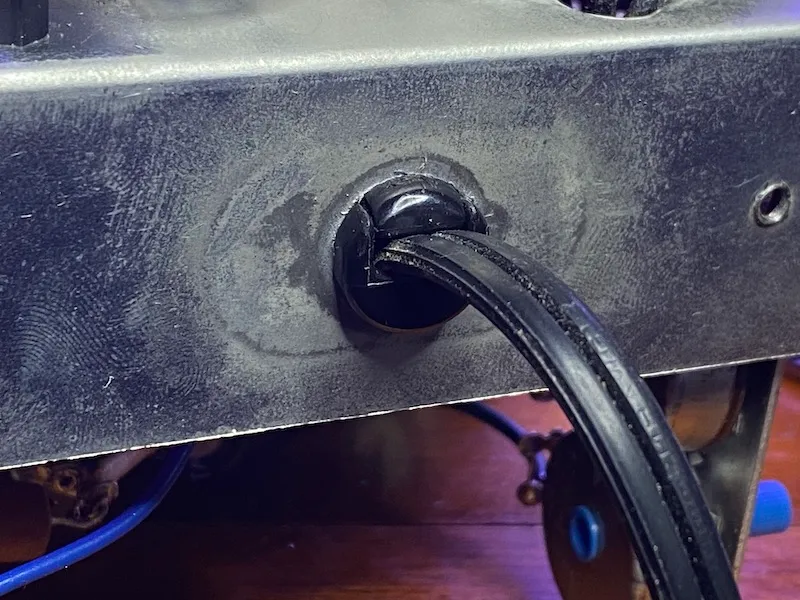
Line cord
The "strain relief" on the original cord was to tie a knot in the linecord on the inside of the chassis that would prevent it from pulling through the opening. The original chassis grommet had also split in two. This isn't exactly safe. My solution was to drill out the opening a bit more and install a Heyco chassis strain relief with a new flat two prong polarized plug. This way, unless an electrician wired the wall plug incorrectly, I'm going to guarantee myself I'll put the switching on the hot leg of the AC line.
Capacitor/resistor replacement
I pulled out the capacitors and gave the resistors a quick check and they were all within tolerance. Dropped in new capacitors, as at their age, they are just waiting to fail.
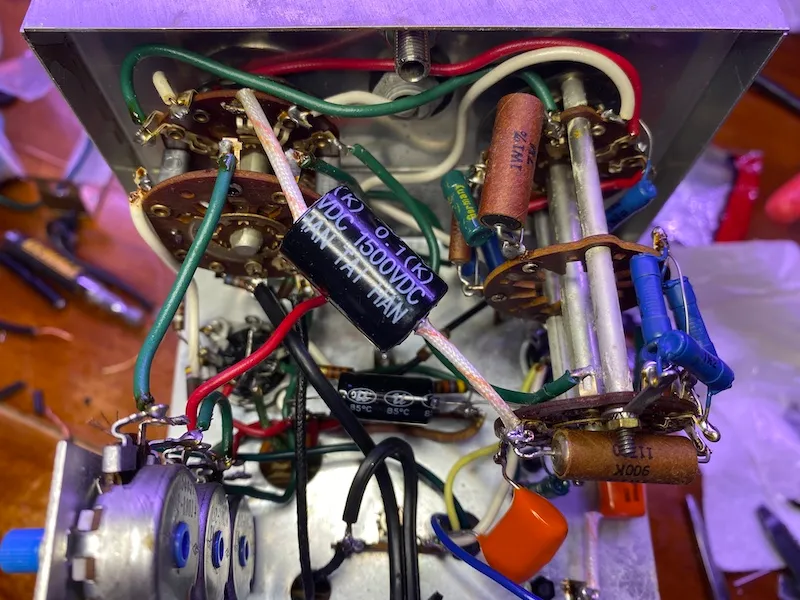
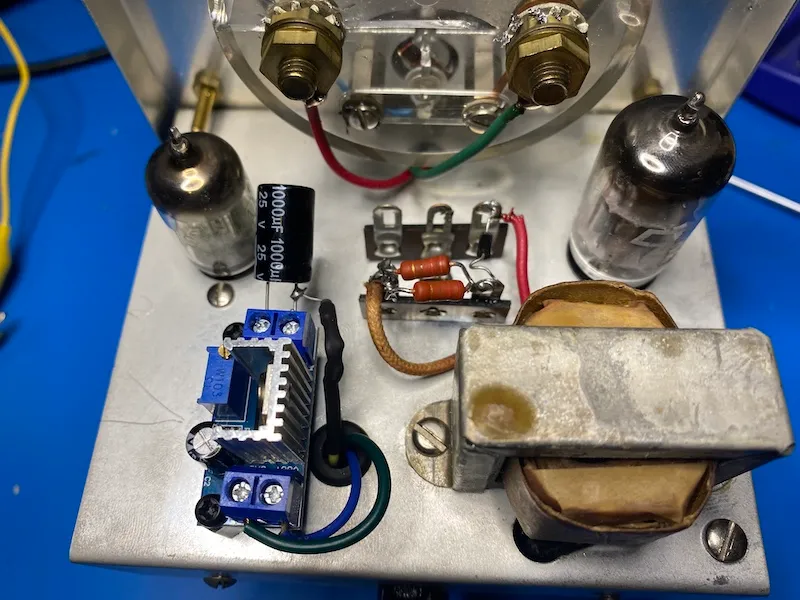
Selenium Rectifier & Battery Replacement
The old selenium rectifier was replaced with a single 1N4007 diode and used two high quality 100ohm resistors rated up to two watts in parallel for voltage drop, as I didn't have any 200 ohm resistors in my stash. I also picked up a battery replacement kit on eBay and got it installed.
Wrapping up
With new probes and a calibration, this unit is working pretty well. Restoring this EICO 232 VTVM was a fun and straight-forward project. I'm happy to give this vintage piece of test gear a new home where it will be used for years to come!